It was National Chocolate Day a few days back, and being such a chocolate lover I had to make something chocolaty! I remembered this recipe which I had tried for Akira’s birthday. These cookies are a little bite of chocolate heaven, enriched by the espresso flavor! They have the perfect texture, with a crunch on top and moist inside. So if you want to satiate your chocolate cravings, then these cookies are just right for you!
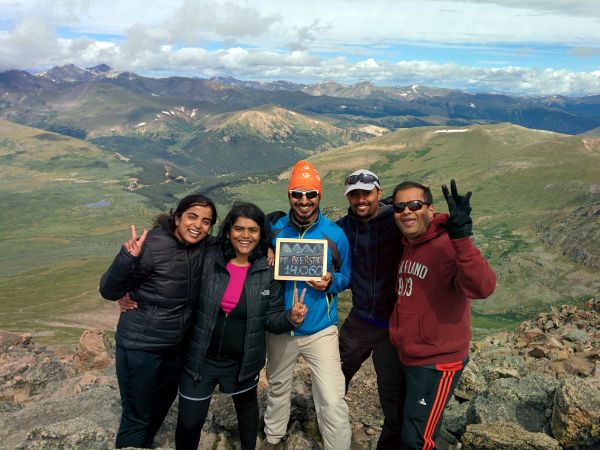
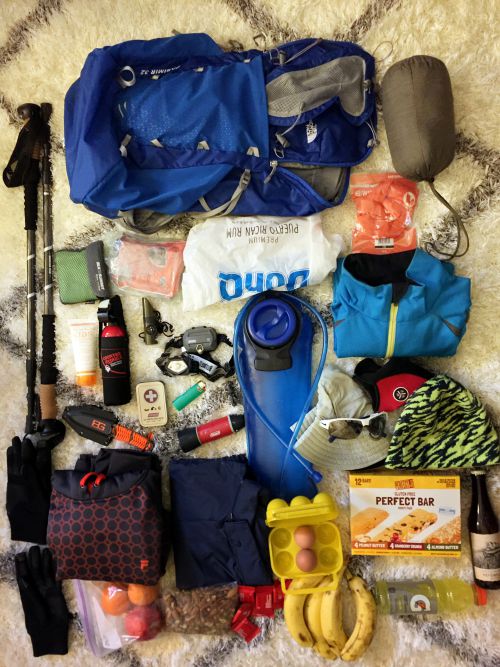
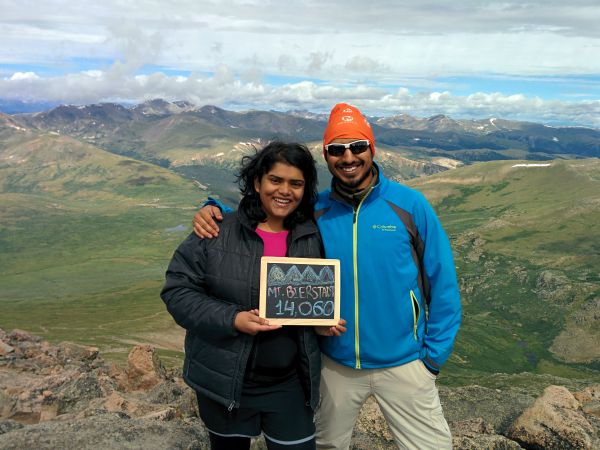
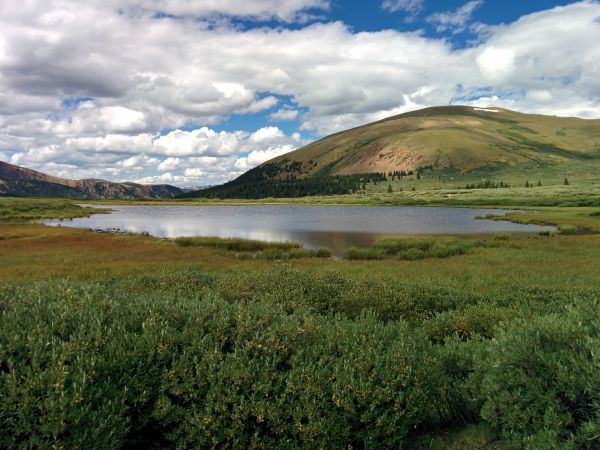
Also, these cookies are just perfect for the holidays as they look so wintry with all the powdered coating. They look so captivating just like the snow capped peaks of Colorado! With some snow coming this week, I think I need to make a fresh batch of these 😉
Steps for making the Chocolate Espresso Snowcap Cookies
- Melt and cool the chocolate
- Mix all the dry ingredients
- Mix all the wet ingredients
- Prepare the dough
- Wrap and freeze the dough
- Prepare for Baking
- Roll the balls
- Set it for baking
- Cool the cookies
- 1/2 cup all-purpose flour
- 1/4 cup unsweetened cocoa powder
- 4 teaspoons instant espresso powder
- 1 teaspoon baking powder
- 1/8 teaspoon salt
- 4 tablespoons unsalted butter
- 2/3 cup packed light-brown sugar
- 1 large egg
- 4 ounces bittersweet or semisweet chocolate
- 1 tablespoon milk
- 1/2 cup confectioners' sugar (for coating)
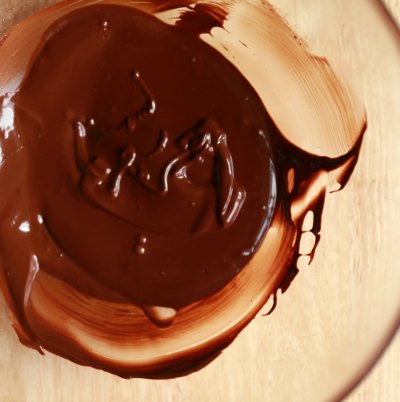
- Melt the chocolate using a double boiler or microwave and set it aside for cooling.
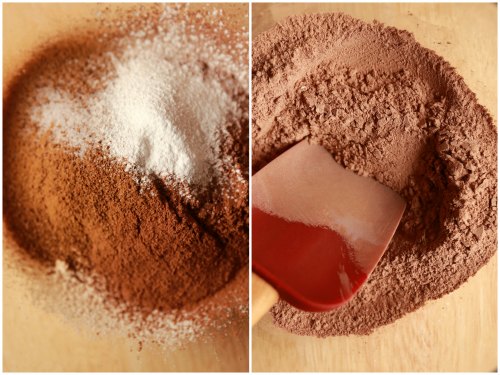
- In a medium bowl, sift together flour, cocoa, espresso, baking powder, and salt. Combine them all together using a rubber spataula.
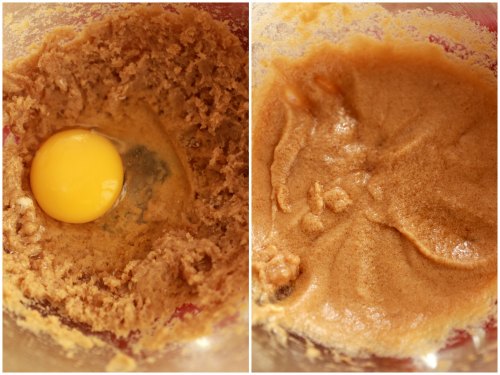
- With an electric mixer, cream butter and brown sugar until light and fluffy. Beat in egg until well combined. Mix in the cooled chocolate.
- Gradually fold in the flour mixture into the wet ingredients. Combine them using the milk.
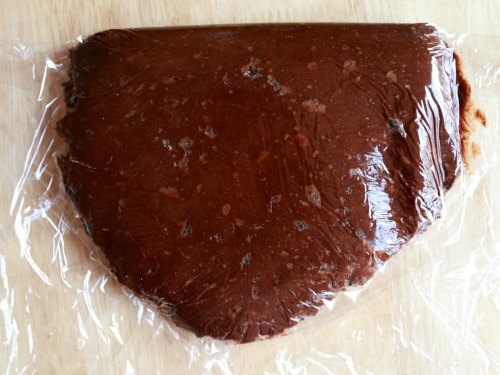
- Transfer the dough mixture on a plastic cling wrap and flatten dough into a disk. Freeze until firm, about 45 minutes.
- Preheat oven to 350 degrees. Line two baking sheets with baking mat or parchment. Pour confectioners' sugar into a medium bowl.
- Pinch out 1 inch ball pieces from the dough. Working in batches, roll balls in sugar two times, letting them sit in sugar between coatings.
- Place on prepared baking sheets, 2 inches apart. Bake until cookies have spread and coating is cracked, 12-15 minutes.
- Cookies will still be soft to the touch. Let it sit on baking sheet for 5 minutes. Cool cookies on a wire rack.
Melt the chocolate using a double boiler or microwave and set it aside for cooling. I used the 60% bittersweet chocolate as I love the dark chocolate flavor.
In a medium bowl, sift together flour, cocoa, instant espresso powder, baking powder, and salt. Then combine them all together using a rubber spatula. I used the Dutch processed cocoa, which I recently bought at Costco. It gave this mix a rich chocolate flavor, but you can use any other regular cocoa powder as well. You can also substitute the espresso powder with 6 tsp of Medium/Dark Roast Instant Coffee Powder.
Using an electric mixer, cream the butter and brown sugar until light and fluffy. Beat in the egg until well combined. Then mix in the cooled chocolate.
Now gradually fold in the dry flour mixture into the wet mixture, careful not to over-mix it. I actually used a rubber spatula for folding, but you can also use the electric mixer with low speed setting. Then add the milk to incorporate all the mixture. You can add more milk, if required.
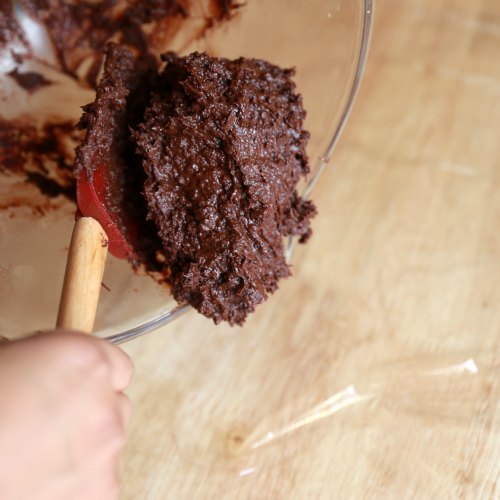
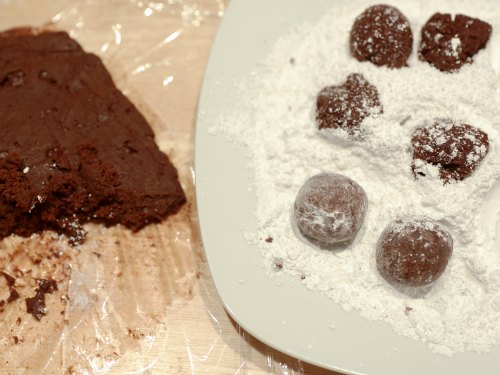
Once all the ingredients are combined together, we have a very soft and fudgy dough. To work with it we need to freeze it to make it firm. So transfer the mixture onto a cling wrap. Flatten the dough into a disc shape and wrap it nicely. You need to keep the mixture in the freezer for at least 45 minutes for the dough to get firm. If you let the dough sit in the freezer longer, the cookies spread out lesser and rise more.
Pre-heat oven to 350 °F. Line your cookie sheets with baking mat or parchment paper. Pour confectioners’ sugar into a medium plate or bowl.
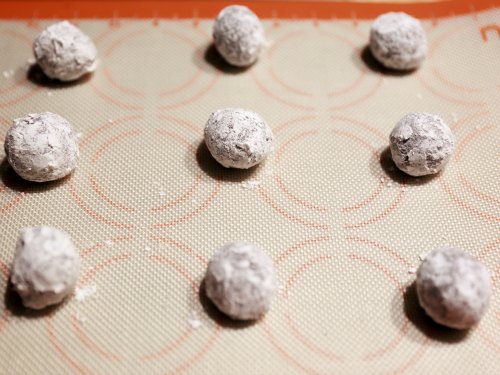
Once the dough is firm, pinch out pieces to make 1 inch balls. Pinch out 9 pieces first and then roll them in the powdered sugar to work faster. Roll balls in sugar two times, letting them sit in sugar between coatings. I actually did not use the freezer section of the refrigerator for firming the mixture. So even though the dough was firm after 45 minutes, the mixture did stick to my hands a little bit while rolling the balls. This also meant that some of the sugar coating gets soaked in the dough. So mine just had a snow dusting instead of heavy snow 😀
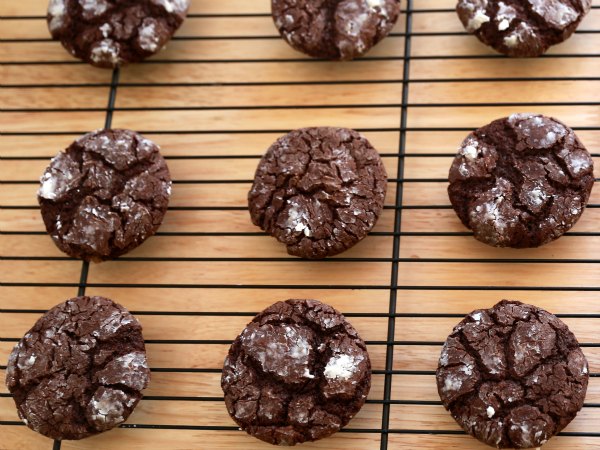
Give them a nice toss in the sugar before placing the balls, to get more snowy effect! Place them evenly on the baking sheet with 2 inches apart. Bake until cookies have spread and you start seeing the cracks, around 12-15 minutes.
The cookies will be soft to touch when fresh out of oven, so let them sit on the baking sheet for at least 5 minutes. Then transfer them to a wire rack for final cooling.
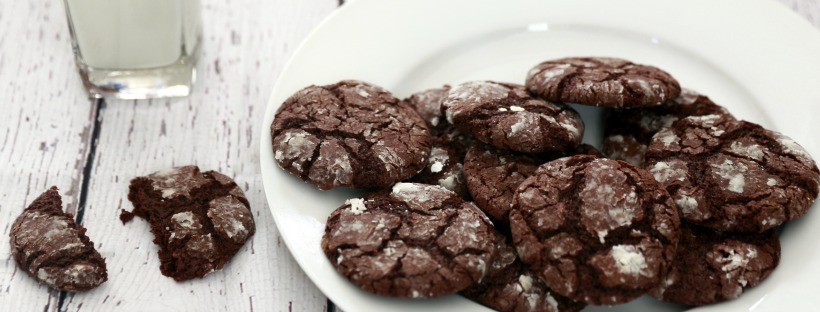
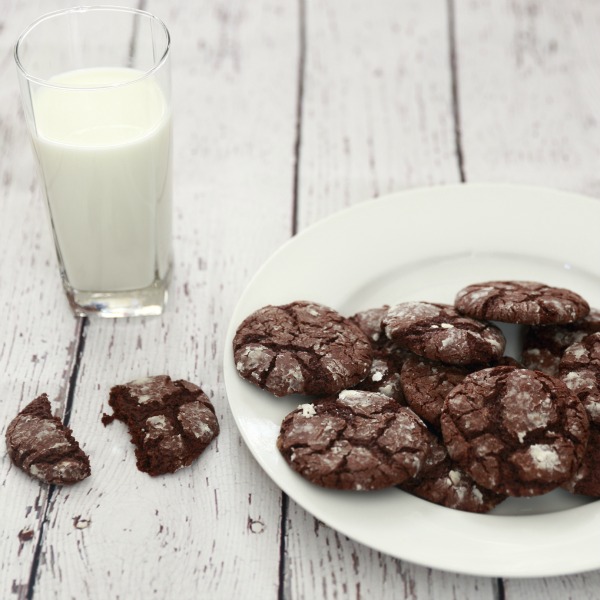
Yup! That is all it takes to make these yummy cookies. Now you just need a tall glass of milk to enjoy along with it 🙂

These cookies are a little bite of chocolate heaven, enriched by its espresso flavor. The snowcaps make them perfect for the holidays!
Ingredients
Instructions
Notes
Following are some tips:
1. Roll each ball in confectioners' sugar twice to make sure it's thoroughly coated and no dark dough is visible.
2. Freezing the dough longer makes the cookie spread less and rise more.
3. If the dough is not firm/cold enough or if it has been sitting in the sugar for long, you will not enough snow cover on the cookies.
4. Cookies will keep for up to a week stored in an airtight container at room temperature.
5. You can substitute the instant espresso with instant coffee powder 1 tsp instant espresso powder = 1.5 tsp instant coffee powder
* This recipe is from Martha Stewart's site