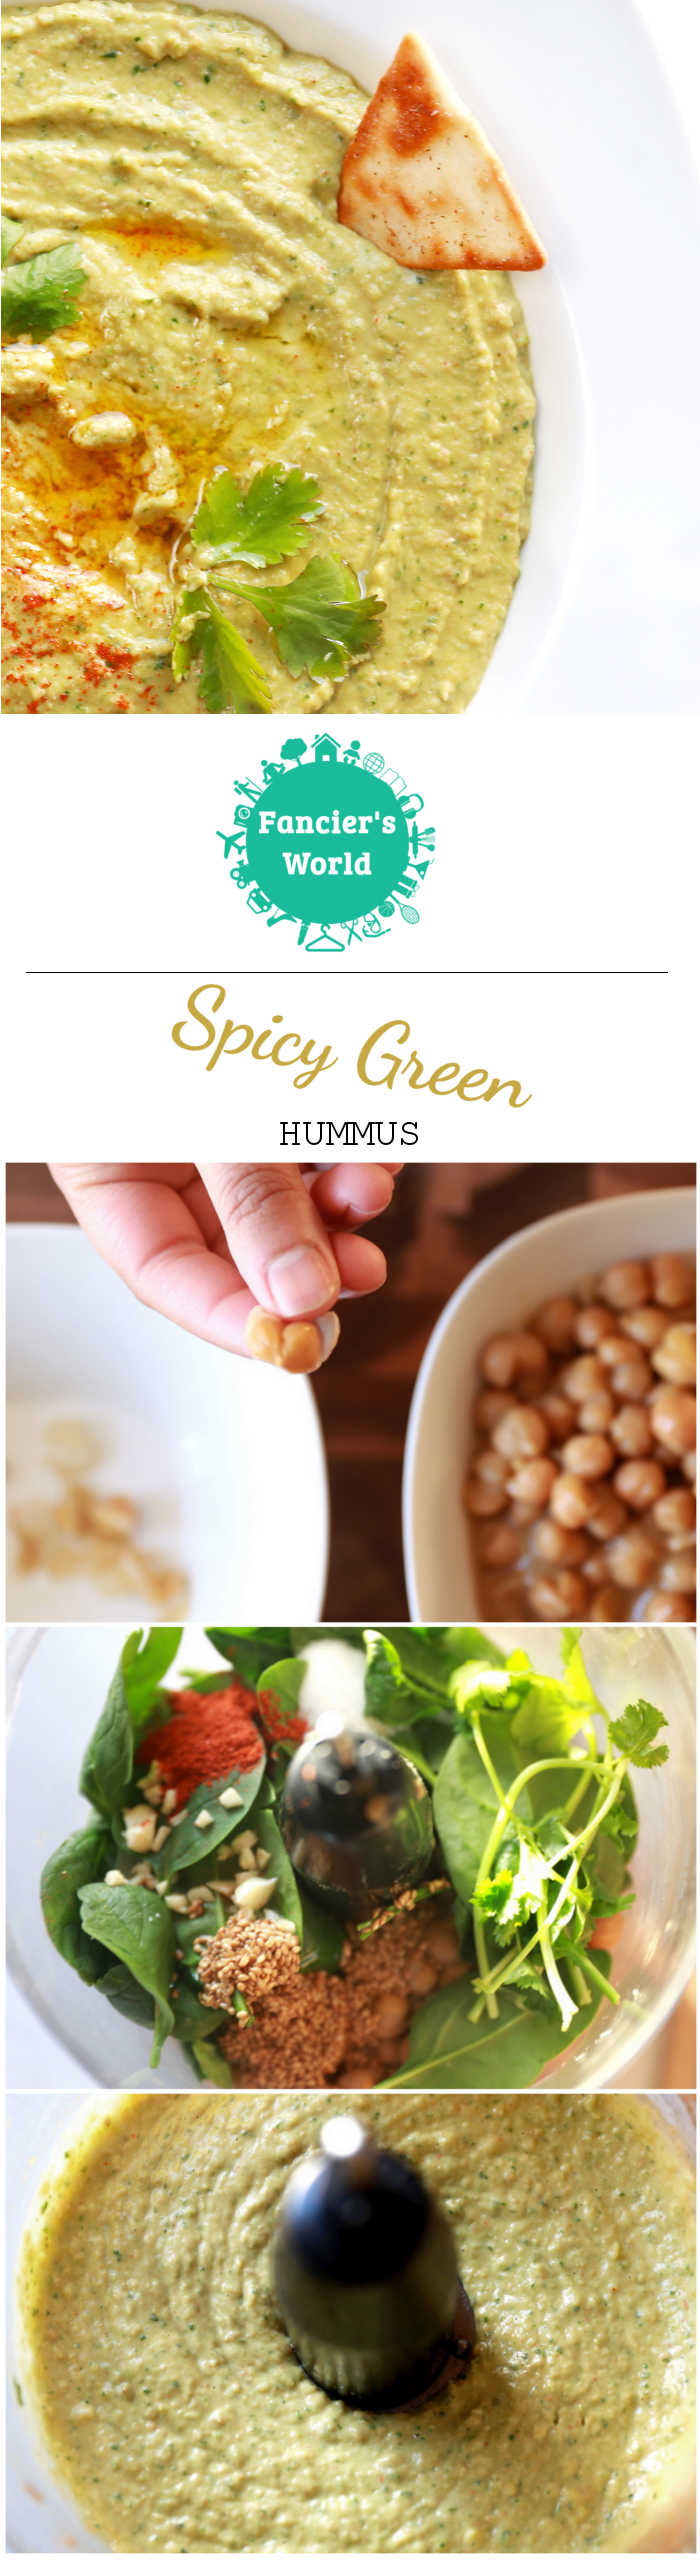
I had very little experience with Mediterranean food before coming to US. But pretty soon I was introduced to the world of Hummus, Falafel, Pita, Fatoush, Tabouli and more. Since then Mediterranean has been one of my favorite cuisines and turns out it is a healthy one too. Being an Indian I am used to making chhole masala which is a garbanzo bean curry or soup. So the first Mediterranean food I tried making at home was Hummus which is made mainly from garbanzo beans. For this Spicy Green Hummus recipe, I gave a slight twist to the traditional Hummus by adding some fresh greens to it.
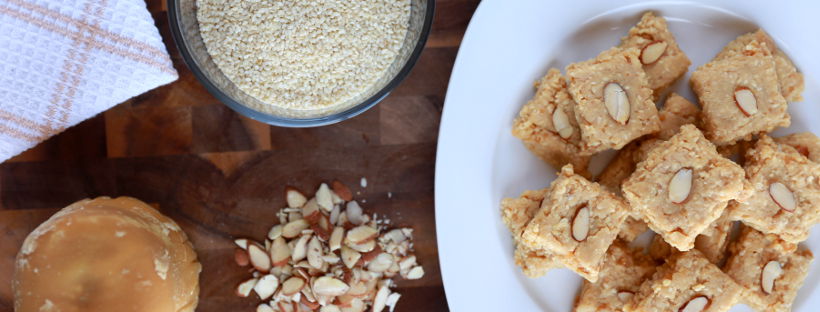
Hummus is packed with protein, courtesy of its two main ingredients, garbanzo beans and tahini which is mainly sesame seeds. Adding the greens in the recipe not only adds nutrients to it, but adds a new flavor dimension to it. Every bite of the hummus is so smooth, refreshing and bursting with flavor. This recipe is also vegan and gluten-free, so everybody can enjoy it. It is also a healthy food for toddlers and kids. I usually double the recipe, as otherwise it just disappears so fast. 😉
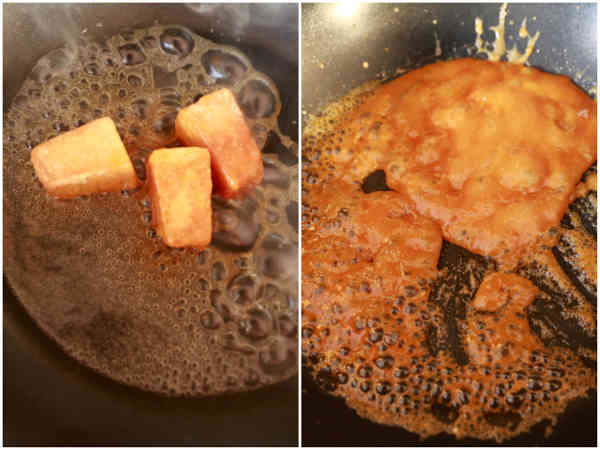
For the first ingredient – garbanzo beans – I like to cook them from the scratch using dried beans, just because I am used to making it. Though it does make for a fresher and smoother hummus and has much lower sodium content than the canned ones. Also, they are more cost effective. But yes it does take time and preparation to make it. If you are running short on time then sure go ahead and used the canned garbanzo beans. The canned beans are available in 15oz cans which yields 1 1/2 cups, so for this recipe you will need to use 2 cans. If you are making it from dried beans then use 1 cup of the beans.
1/2 cup dried garbanzo beans => 1 1/2 cup cooked garbanzo beans = 15oz garbanzo beans can
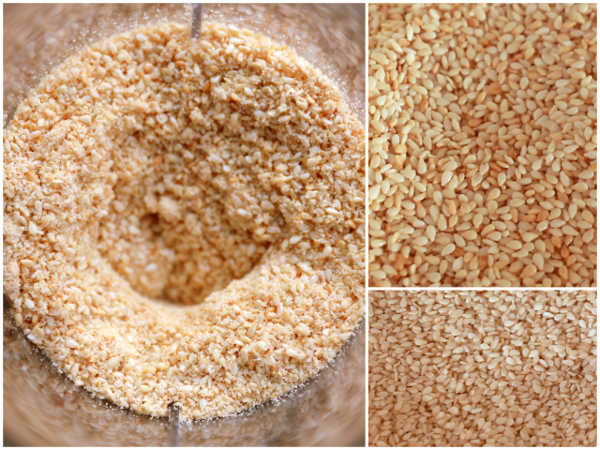
For the second ingredient – tahini – I follow a real short cut here. I am not a heavy user of Tahini, so I never have it ready. But as part of my Indian kitchen, I always have sesame seeds. And tahini is nothing but roasted sesame seeds and olive oil. So I just roast the amount of sesame seeds I need in a pan, and it goes along with all the other ingredients to the blender! 😉
Steps for making the Spicy Green Hummus
- Cook the garbanzo beans
If you are planning to use canned beans, then skip this step. For dried beans you have to start preparing a day in advance. Soak the beans in water overnight. By the morning, the beans would have doubled in size, so make sure you use enough water to allow for expansion, maybe around 3-4 cups. The soaking makes the beans more digestible. You can also do a quick soaking of the beans, by boiling the water for 5 minutes and then letting it soak for another 1 hour. Place the beans in a large pot/bowl and cover with water.
Now for cooking, transfer the soaked beans into a pressure cooker / pot along with 3 cups of water. Add 1 1/4 teaspoon of salt. In general, for each cup of dried beans you will have to add 1 teaspoon of salt to the soaked beans. I also like to retain the water that the beans were soaked in, as I do not want to loose the nutrients in it. But if you are skeptical about the bacteria, then drain the water and wash the beans before cooking.
I like to cook in a pressure cooker as it helps in faster cooking with the steam pressure. If using a traditional pressure cooker then cook on high heat till the first 2 whistles, around 15-20 minutes. Then lower the heat to medium heat. By this time enough steam would have generated and you will not need all the high heat as that can result in burning at the bottom as well. Cook on medium heat for another 35-45 minutes, depending on your pressure cooker. If you are cooking in a pot then boil for 75-90 minutes till the beans get tender. I have never really cooked in an electric pressure cooker, so I cannot advise on that. I like softer beans for the hummus as they are easier to blend and to get a smooth dip.
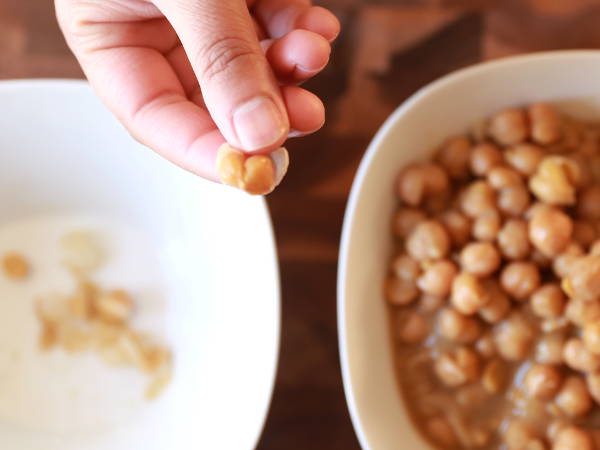
- Peel the garbanzo beans
For a really smooth hummus, I would highly recommend peeling the skin of the garbanzo beans. The skin peels out pretty easily by just pinching at the bottom of the heart shaped beans. But to me it is a lot of work, as it takes around 10 minutes to peel a cup of cooked beans. To me I would rather go for the more rustic chunky hummus. Also, if you cook using dried beans you have the control over how much tender you want the cooked beans to be. If you have cooked it long enough, even the skin blends in smoothly. Also, the skin adds to the fiber content of the hummus.
- Roast Sesame Seeds for Quick Tahini
As mentioned above, I do a bit of a cheating here. I just roast 2 tablespoon of sesame seeds in a small pan, before adding it to the blender. I make the roasting even faster by adding 1 tablespoon oil to it. Hey both the oil and sesame seeds have to make it to the hummus! I am just trying to make things faster and easier 😀
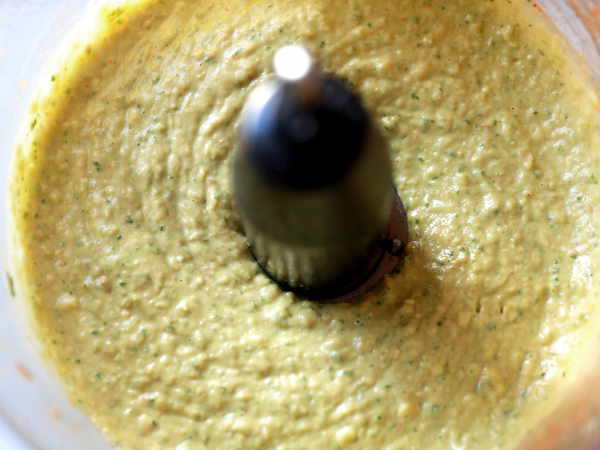
- Blend the ingredients
Drain the beans and save the water for blending. Place the beans in the food processor bowl with a S-blade. Add all the other ingredients – spinach, mixed greens, sesame seeds, garlic, lemon juice, jalapeno, olive oil, red and black pepper to the bowl. Now simply blend them together into a smooth mixture. The mixture might be too thick to start with, just keep on adding a tablespoon of water until you get the desired consistency. We added salt while cooking and the grabanzo beans already have the salt added. If you need more salt, then add according to the taste while blending.

Remember this is a spicy hummus, and if you are not sure about the spice levels, then I would suggest adding them in parts to make sure the taste is according to you. I like the kick of the chili flavor which I get from 1 tsp of jalapeno. But you can use any other pepper or reduce or increase the amount according to your taste. For me the flavor is perfect with all these ingredients, but feel free to adjust it.
- Serve it!
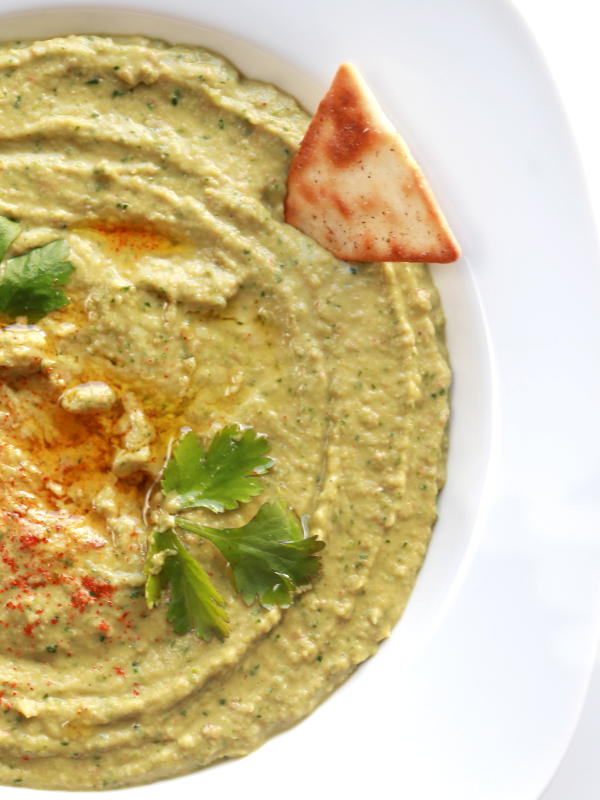
Once you have blended the mixture to a desired consistency, transfer to a serving bowl. (Well a lot of it was transferred directly to my mouth as it was so finger-licking good… ) The healthy spicy green hummus is all ready to dip in! I like my hummus with pita chips best, but at times I take the healthier option of having it with veggies. Or if I am in a fancy mood, I bake my own pita bread. 🙂
Every bite of this spicy green hummus is so smooth, refreshing and bursting with flavors. The mixed greens in the recipe not only add nutrients to it, but also add a new flavor dimension to it.
Ingredients
- 1 cup dried garbanzo beans (safed or kabuli chana) OR 2 cans of 15 oz cooked garbanzo beans
- 2 tablespoons sesame seeds OR 2 tablespoons Tahini
- 1 1/2 cups spinach, loosely packed
- 1/2 cup mixed greens or arugula, loosely packed
- 1/4 cup cilantro or coriander
- 1 teaspoon chopped jalapenos
- 1/4 teaspoon red cayenne pepper
- 1/2 teaspoon chopped garlic (1 small clove)
- 5 + 1 tablespoons extra virgin olive oil
- 3 tablespoons fresh lemon juice
- Salt according to taste (around 1 1/4 tsp if cooking the garbanzo beans)
- 1/8 teaspoon freshly ground black pepper or according to taste
Instructions
- Cook the garbanzo beans (optional) - Soak the dried garbanzo beans in 3 cups of water overnight. Once they double in size, drain and wash the beans and transfer to a pressure cooker / pot. Add 1 1/4 tsp of salt to it. If cooking in a pressure cooker, cook on high heat for 15-20 minutes and then another 35-45 minutes on medium heat. If using a pot then boil for 75-90 minutes.
- Peel the garbanzo beans(optional) - Drain the garbanzo beans and save the water for blending. Peel the skin of the garbanzo beans for a smooth silky dip.
- If not using tahini, then roast 2 tablespoon of sesame seeds in a pan with 1 tablespoon olive oil.
- Transfer the drained garbanzo beans to a food processor bowl with S blade. Add the rest of the ingredients - sesame seeds/tahini, spinach, mixed greens, garlic, jalapeno, lemon juice, extra virgin olive oil, salt and pepper. Blend to make a smooth creamy mixture. Keep adding a a tablespoon of water until you get the desired consistency.
- Transfer the prepared hummus to a bowl. Enjoy it with pita bread/chips or fresh raw vegetables.
Notes
If unsure about the spice levels, then add the ingredients in parts to make sure the taste is in accordance with you.
3.1
https://www.fanciersworld.com/spicy-green-hummus/